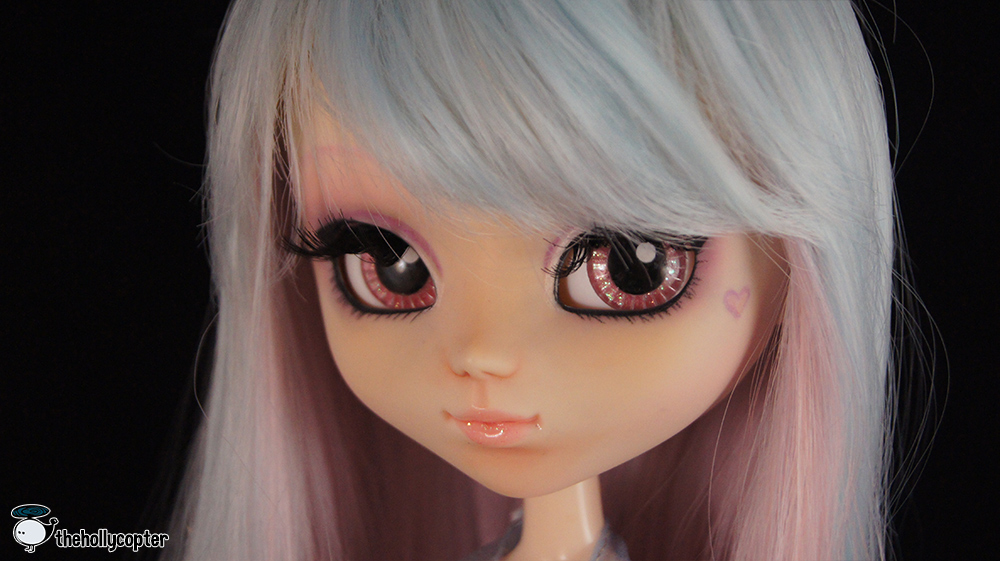
I got my very first MIO kit from Junky Spot and I have to say, it was probably one of the hardest but most fulfilling things I’ve done! I got super frustrated (I’m not the most patient person ever) but I’m quite happy with the result. The initial concept of the doll I wanted to create is a essential a cotton candy Alice in Wonderland, so I wanted most of her makeup and eyes to be pink. I’m going to get a curly pink wig and a pink Alice dress to complete the look! In the meantime I’ve put on a temporary wig and dress. But anyways, let’s get to the kit!
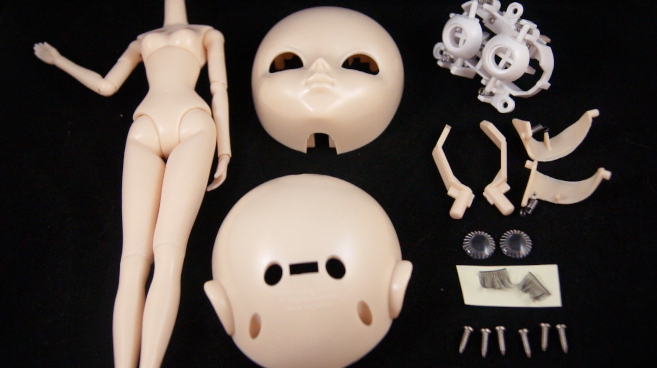
The kit comes with a body, face plate, head, eyemech, two wink bars, two eyelids, two blank eyechips, eyelashes and 6 screws. This kit is the normal colored skin, but Junky Spot has Fair Skin, Tanned Skin, and Pale Skin available as well.
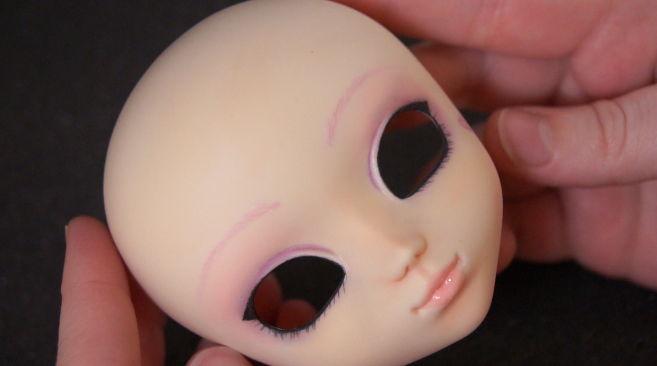
This was my first time ever doing a full faceup so I was really scared! Luckily it turned out ok and I’m pretty happy with the result. I used Mr. Super Clear as a sealant and then watercolor pencils and chalk pastels for the details. I had to redo it about 5 times before I was was happy (which is saying a lot because I’m NOT a perfectionist by any means!).
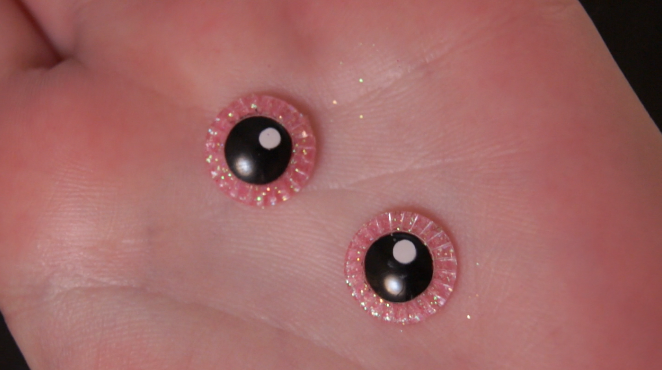
For the eyes I simply painted the centers with acrylic paint and then glued glitter around the outside.
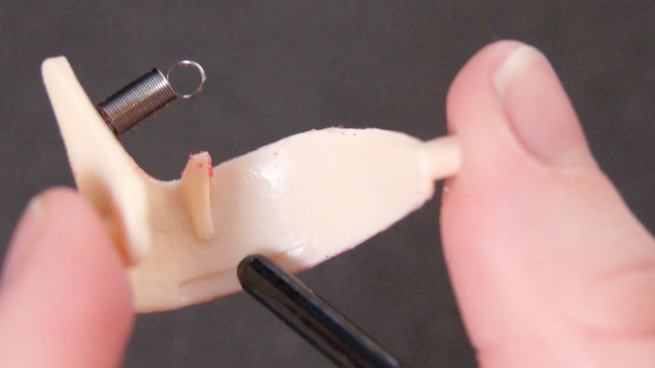
Once the eyes are dry, you can glue them in the eyemech.

It’s important to note that if you have glare spots on your eyes like I do, the top of the eyemech is the part with the two rectangle holes.
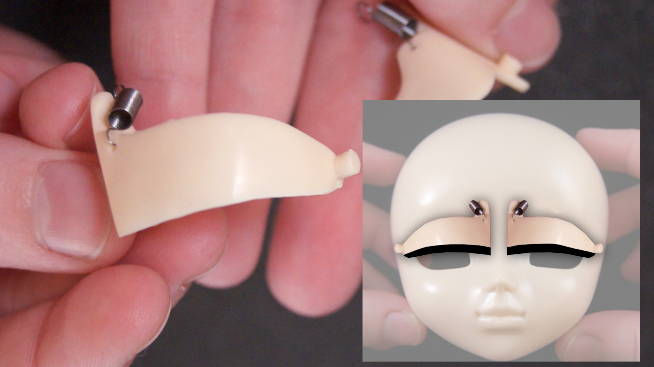
Now to decorate the eyelids, I just covered mine in glitter, but if you decide to do eyeliner, remember the flat edge is the bottom of the eyelid.
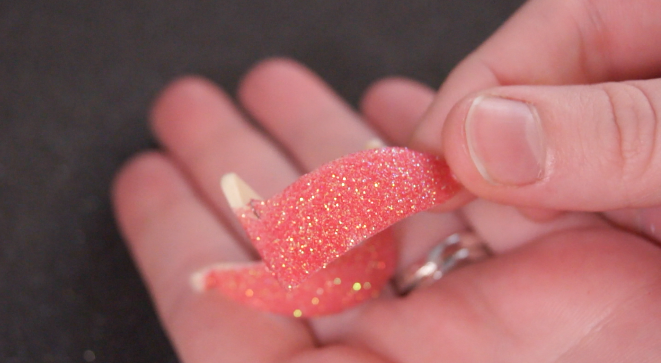
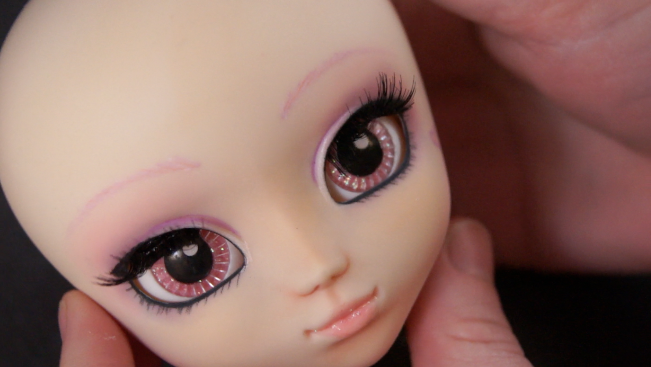
Pretttttyyyyyyyyy. Now for eyelashes. I didn’t use the ones from the kit as they were tiny, so I bought some fake ones from Walmart.
You’re going to want to glue the eyelashes in the area marked on the eyelid because if they go too wide, they may get bent in the eye hole. You can place them in the face to test it out and trim if you need to.
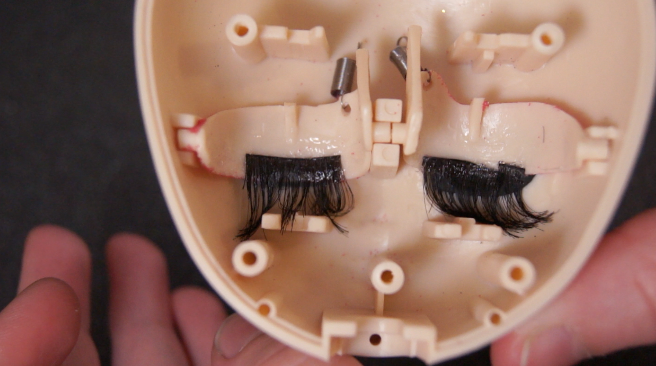
Now WAIT UNTIL EVERYTHING DRIES! No, really. Wait. I didn’t, and it was a huge mess and eyeballs like stuck and it’s not a pretty picture. Once it’s all dry, put your eyelids in the face like this. Make sure your little spring thingies are at the top in such a way you can grab them later.

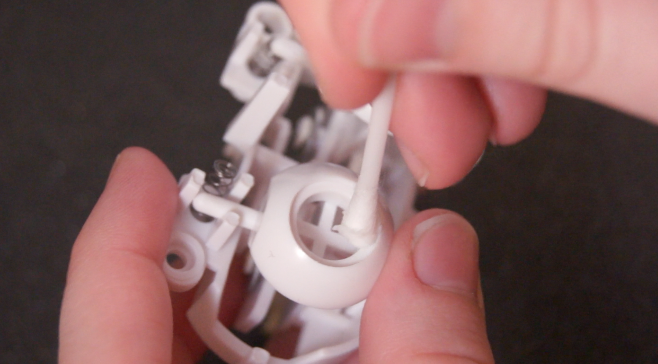
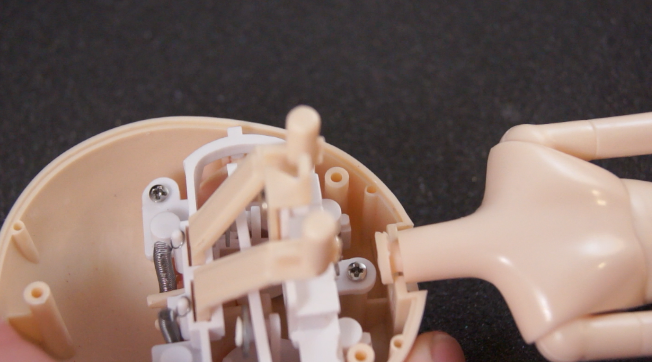
Now you can place your eyemech in the face, remember those rectangle holes go on the top. Screw in three screws in the white plastic, there should be one on either side and one at the bottom. Do this as tight as possible without breaking anything, the eyemech needs to stay in there nice and good-like!
Now take the ends of the little coils and place them on the little white pegs. Don’t cross them or anything, that would be silly.
Yay it’s coming together! Check your eyes and make sure you can move them back and forth.
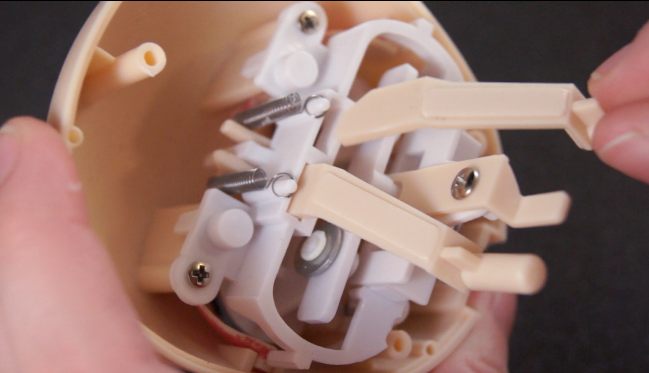
Now add your wink bars in the square holes. The diagonal cut part is toward the outside. Basically if you do it the wrong way, you’ll know when you try to put the head on.
Now add in your lovely naked body. The body should fit all the way down into the neck hole.
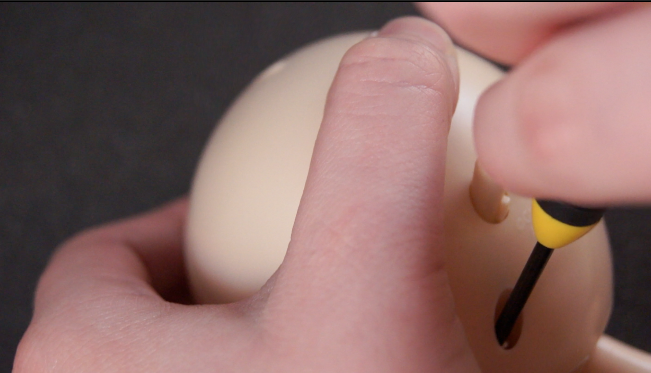
Now put on your head and all the pieces should fit in the holes. If they don’t, check your wink bars, they might be switched. Screw in the last three screws tight. There shouldn’t be any gaps in between the face and head.

And now you’re done! You can add a wig (size 9-10 fits well) and some cute clothes. Like I said I’m going to get a new wig and clothes for this lady, but this is her temporary getup. I’ve named her Aliana. She’s for a friend 🙂
Check out the video on this tutorial!